
My main keyboard for the last six years has been an Atreus62 — a 62-key ergonomic split mechanical keyboard with column-linear, vertically staggered keys. It’s been bulletproof the entire time. Then, last week, it started dropping keystrokes here and there. The flakiness got worse over the next few days. Eventually the entire top row of letters went silent.
This is the point where a closed-source peripheral becomes e-waste. Instead, I spent an afternoon at the bench, rebuilt the firmware from source, swapped an inexpensive microcontroller, and got my keyboard back. The only reason that was possible is that every layer of the thing is open.
What the Atreus62 Is
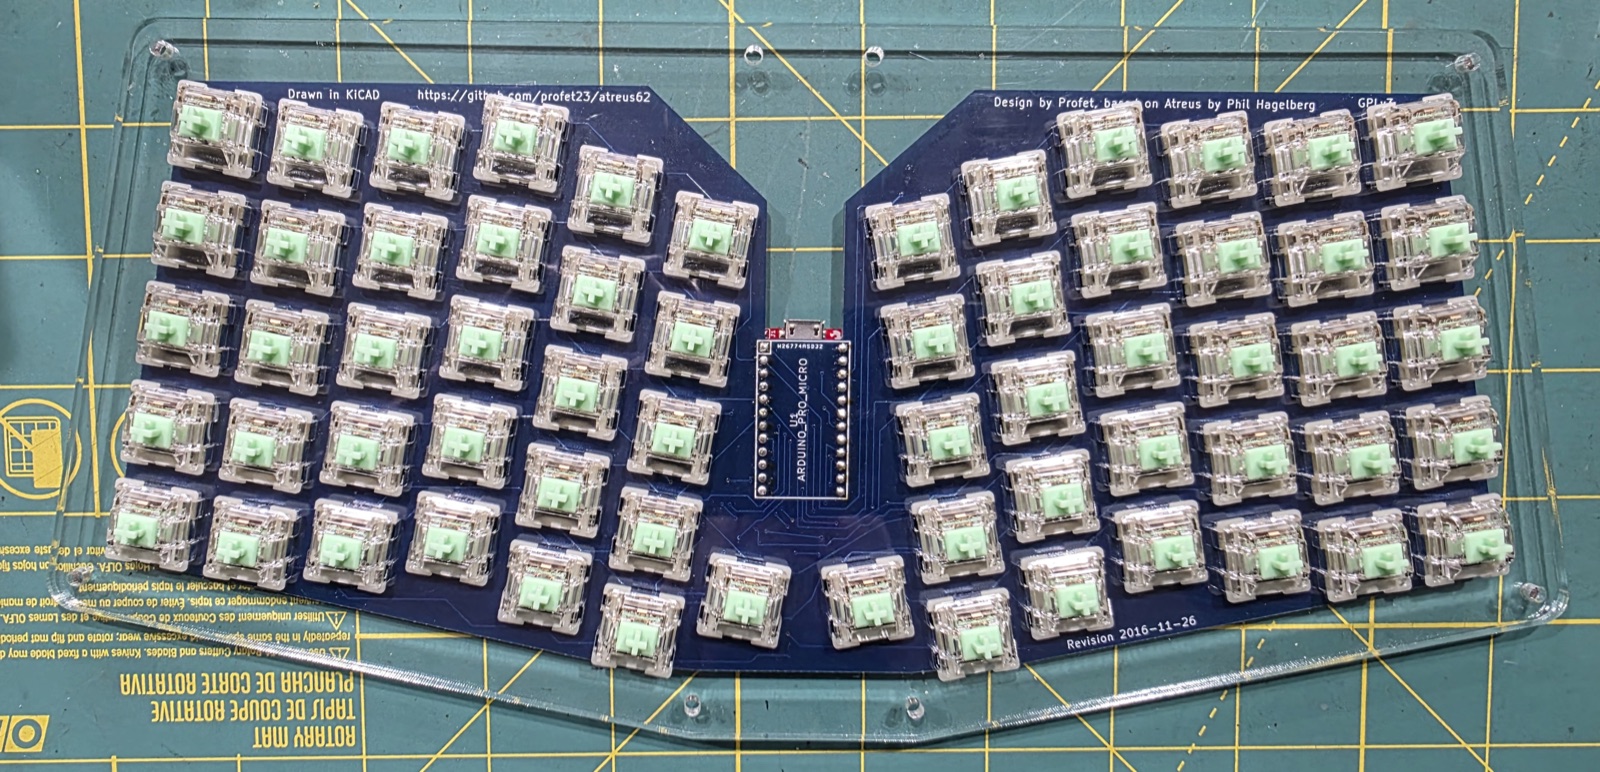
The Atreus62 is a 62-key ergonomic split mechanical keyboard — column-linear layout with a vertical stagger — originally designed by profet23 as an expansion of Phil Hagelberg’s Atreus. The PCB and case files are on GitHub. The brains are an Arduino Pro Micro — an ATmega32U4 dev board that’s effectively the default microcontroller for hand-wired and small-batch keyboards. The firmware is QMK, which runs on just about every community-built keyboard you can name.
I picked it six years ago for three reasons: I wanted something with a small footprint on my desk, I wanted the reliability of a wired keyboard, and I wanted it to be open source top to bottom. The stack delivers on that last part — open hardware, open microcontroller, open firmware. That turns out to matter a lot when something breaks.
Symptoms and First Guesses
The first sign was occasional missed keypresses. Annoying, but easy to write off as my typing. Within a few days it was bad enough that I was noticing it on every session, and not long after that the top row (q w e r t y u i o p) stopped registering entirely.
My first guess was USB. The keyboard connects through a hub, and hubs are the kind of thing that go flaky before anything else does. I swapped cables, bypassed the hub, and tried different ports on the host directly. No change. That ruled out the easy answers.
I also pulled up dmesg and watched the device enumerate cleanly each time — the board was talking to the host fine, it just wasn’t reporting keys from one row. That pointed away from USB and toward the matrix side.
Debugging With Claude Code
Before pulling out the soldering iron I wanted a better handle on what the firmware was doing. I pulled the Atreus62 PCB design source and the QMK firmware into a local directory and fired up Claude Code in it.
Claude helped me more thoroughly rule out the USB side and then moved on to the firmware and hardware. Working through the key matrix code and the board design, we narrowed the failure down to a single GPIO pin on the Pro Micro — the one driving the dead row.
I want to be clear about what Claude Code did and didn’t do here. It didn’t magically diagnose anything. What it did was let me reason about the firmware and the schematic faster than I would have on my own, because the code and the board design were both open and it could read them directly. That’s a debugging story that doesn’t exist for a closed peripheral.
With a specific suspect, I pulled the keyboard apart and looked it over. The PCB was in good shape. Before committing to a full replacement, I tried reflowing the Pro Micro’s pins — a few of the original joints didn’t look great, so it seemed worth a shot. It didn’t help. Time to replace the controller.
The Plan
Replace the Pro Micro. That’s the fix.
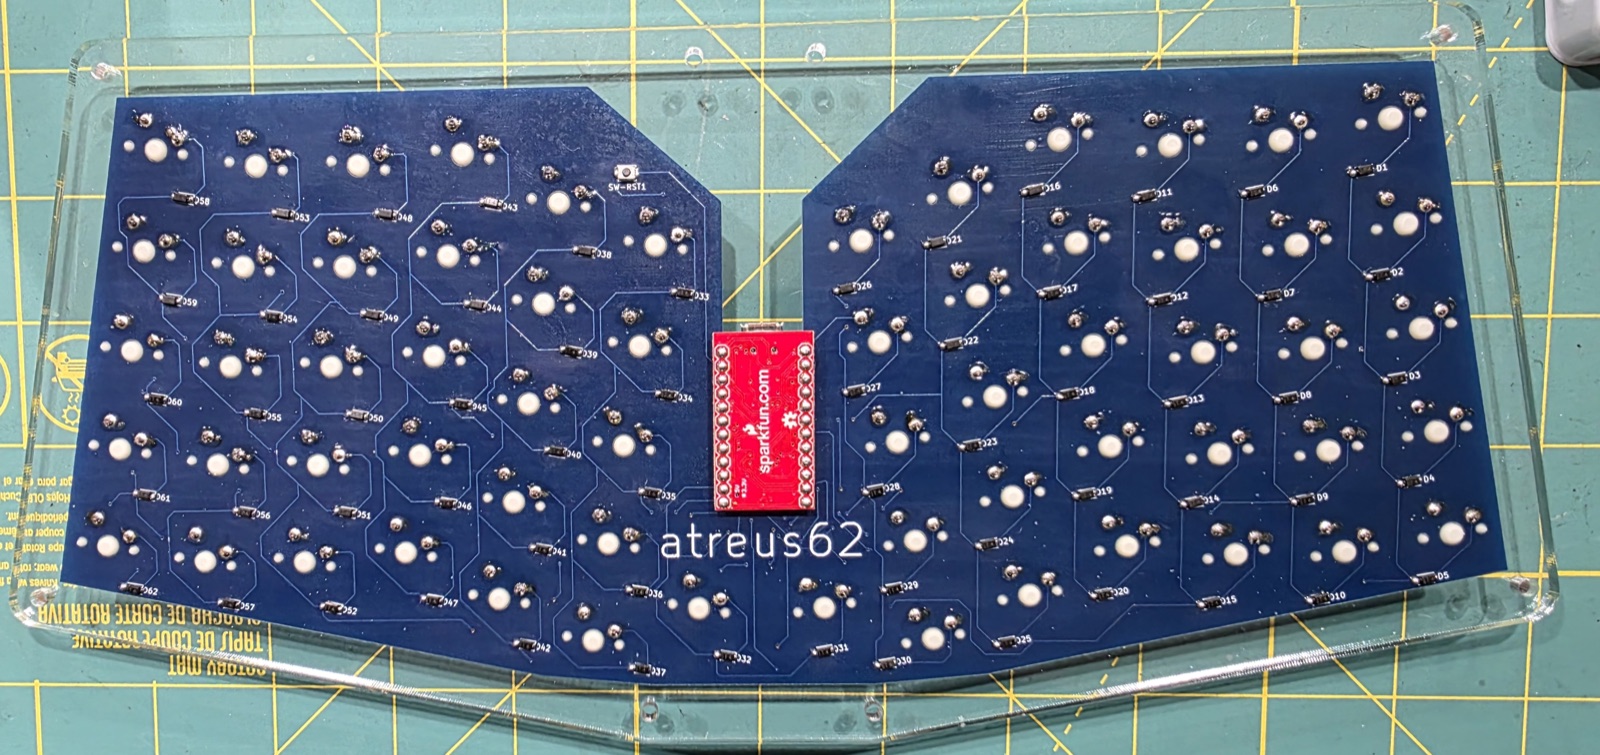
The complication is mechanical: the Atreus62 has an acrylic switch plate that sits between the PCB and the switches. Once the switches are soldered in, they hold the plate captive against the board — and the plate covers the solder pads for the Pro Micro’s headers. To get access to those pads you have to free the plate, and to free the plate you have to desolder every switch holding it in place. That’s all 62 of them.
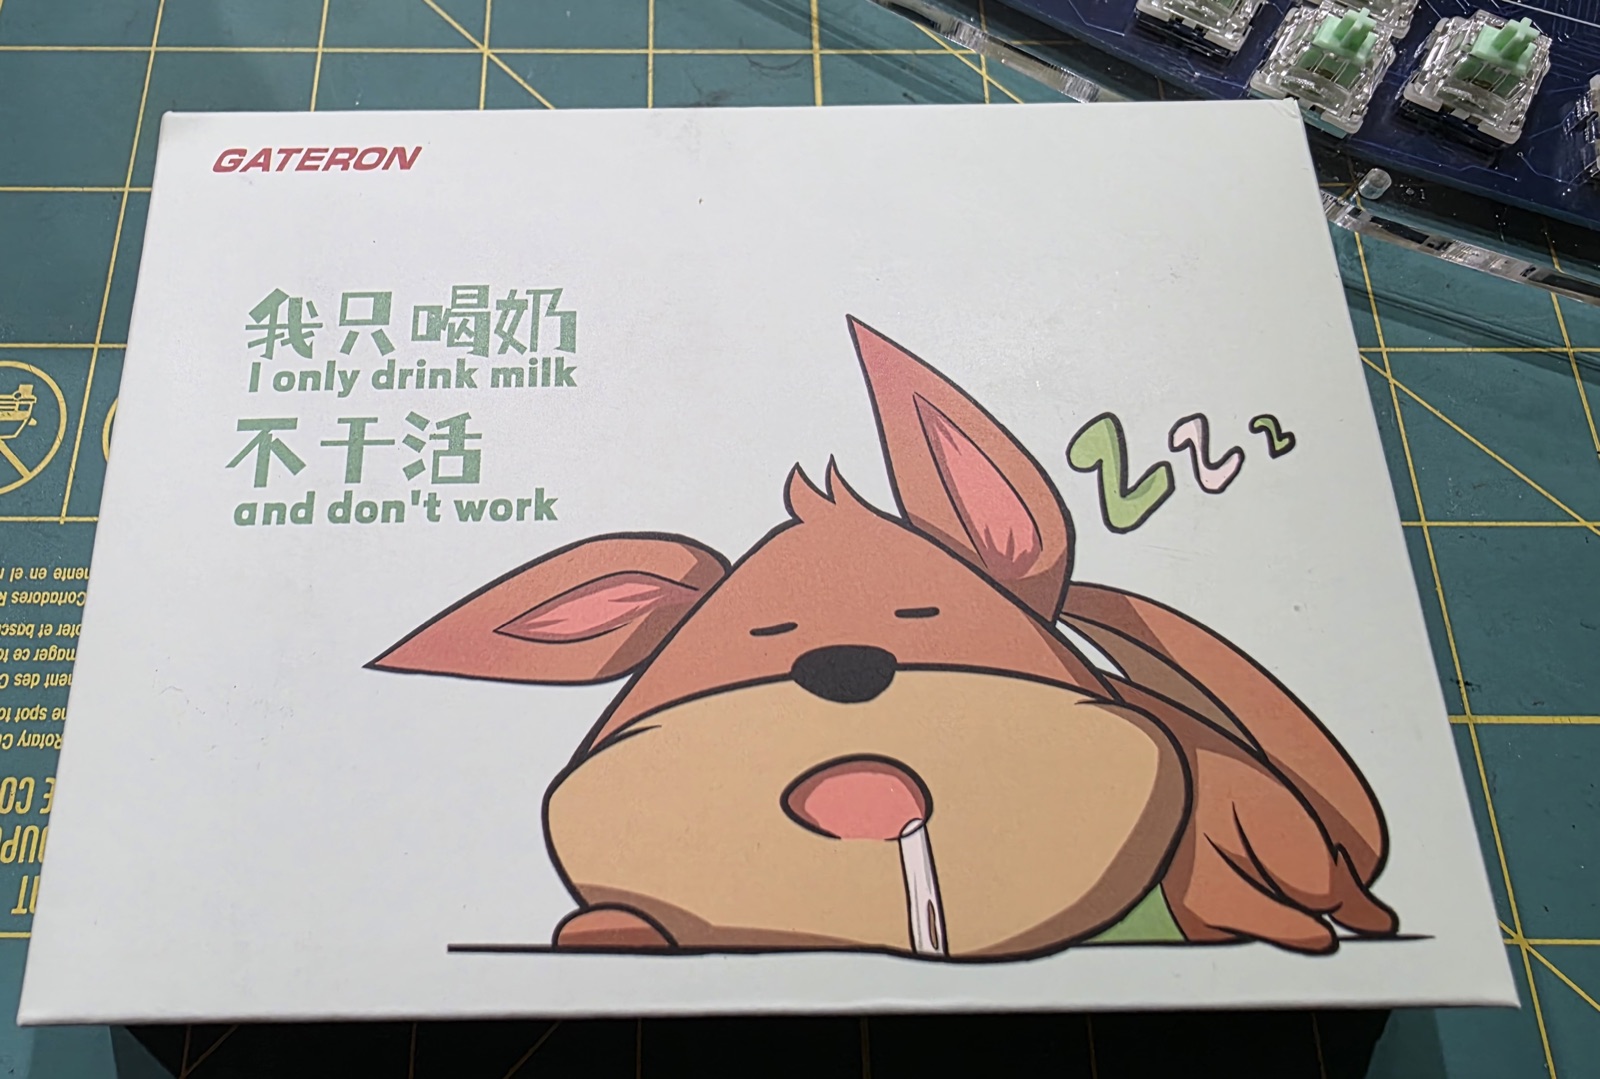
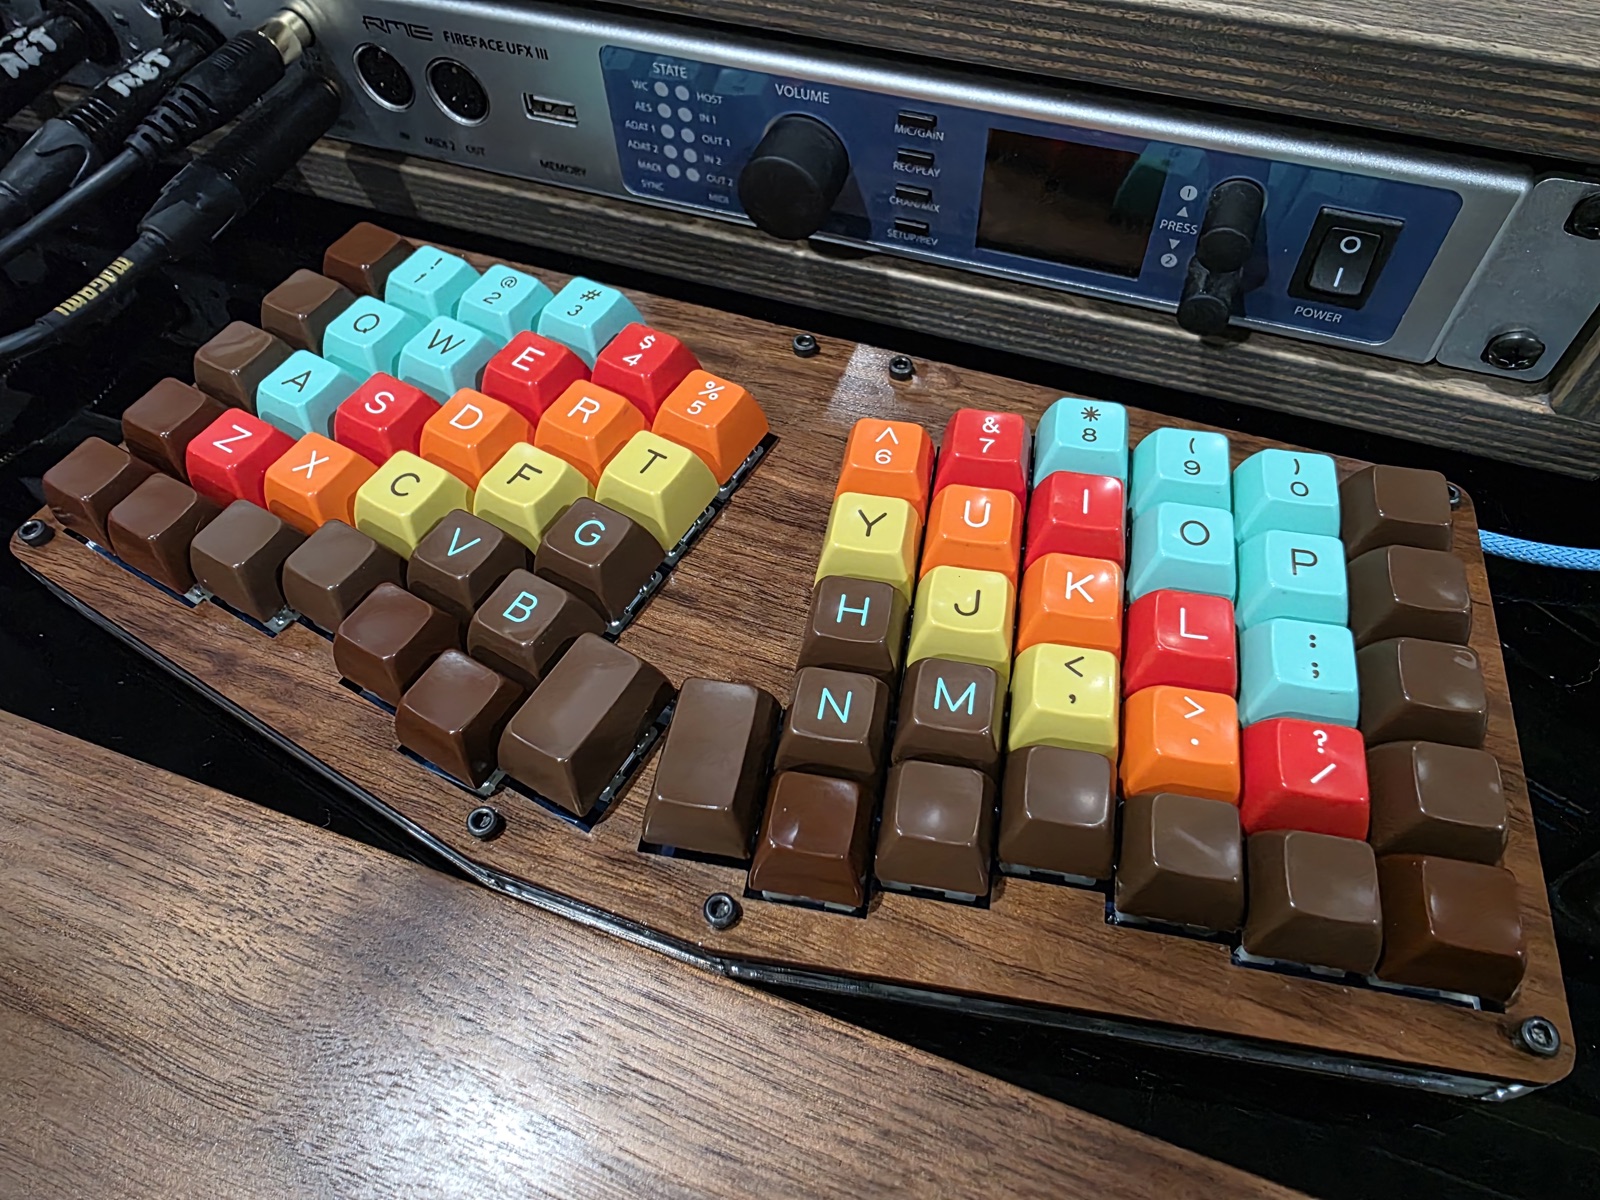
That turned the job from “swap one part” into “rebuild most of the keyboard.” I had a spare Pro Micro in a parts drawer, which kept the bill of materials near zero, and since I was going to desolder every switch anyway, I decided to replace them too. My existing switches were Zealios 67g — tactile, heavy, and I’d had no complaints in six years. I poked around to see what was popular these days and landed on the Gateron Baby Kangaroo 2.0 — silly name, widely liked tactile.
The Repair
The steps, in order:
- Pop all the keycaps and remove the case plates.
- Desolder all 62 switches. Two pads each — 124 joints.
- Desolder the Pro Micro and its headers.
- Clean the PCB. Wick any stubborn solder and clear every through-hole so the new components seat flush.
- Solder new headers for the Pro Micro.
- Solder the Pro Micro onto the headers.
- Install the plate, drop in 62 new switches, solder them in.
- Reassemble.
The tedious part is the desoldering. I did this the slow way — solder wick and a solder sucker, no desoldering gun. It works fine, it just takes time. Clearing the through-holes is where patience pays off: if any hole still has solder narrowing it, the new switch pin won’t seat properly and you’ll get intermittent contact later, which is exactly the kind of problem I was trying to fix, not introduce.

Soldering 62 new switches is meditative. Nothing fancy — two pads each, check each joint as you go, flip the board over every row or so to make sure nothing shifted.
Building and Flashing QMK
With the new Pro Micro in place, I needed firmware on it. QMK builds from source, and the Atreus62 is supported upstream, so this was just:
That produces a .hex file. To flash it I used avrdude directly rather than QMK’s flashing helpers, because I wanted to see what was happening:
| |
The Pro Micro has to be in bootloader mode when you run this — a quick double-tap of the reset pin. First try, it took the firmware, came back up, enumerated, and every key worked.
Why This Was Only Possible Because Of Open Source
Every step of this repair depended on something being open:
- Open hardware. The PCB design and schematic are on GitHub. I could look at the board file and see which pin drives which row. Without that, I’d have been probing traces blind.
- Open microcontroller. A Pro Micro is inexpensive and available from a dozen suppliers. It’s not a custom ASIC soldered directly to a proprietary PCB. Replacing it is a parts-drawer operation.
- Open firmware. QMK’s source is on GitHub with full Atreus62 support already merged. I didn’t need a vendor’s flashing tool, didn’t need a signed binary, didn’t need permission. Clone, compile, flash.
- Open toolchain.
avr-gcc,avrdude, and the QMK build system are all open. The whole chain from source to running firmware is inspectable.
If any one of those layers had been closed, this repair gets a lot harder or outright impossible. A closed firmware means you can’t rebuild it for a new microcontroller. A proprietary controller means you can’t buy a replacement. A sealed case with no schematic means you’re guessing at traces with a multimeter. Any of those would have been enough for me to shrug and buy a new keyboard.
There’s also the debugging angle. Being able to hand Claude Code the actual schematic and the actual firmware — not scraped fragments, not guesses — is what made narrowing the fault to a specific pin practical in an afternoon rather than a weekend. Open source gives AI tools real material to work with.
A Note on the New Switches
First impression on the Baby Kangaroos is good. They’re a bit loud, which I don’t mind. They feel fast, the weight is lighter than the Zealios but not too light, and they still provide plenty of tactile feedback. I’m not especially picky about switches, these feel nice, and pulling 62 switches just to experiment is enough work that I’m unlikely to swap them again any time soon. Call it a solid pick I’ll happily live with.
What I’d Do Differently
Honestly, not much. I did briefly eye a USB-C Pro Micro variant — the footprint is compatible and the connector is the most likely thing to fail next — but I use a custom cable with this keyboard: micro-USB at the board end, with a LEMO connector inline for quick disconnect. I like the cable too much to swap it out, so micro-USB stays.
The larger lesson I want to bank from this: when I’m buying gear I actually care about, openness is a feature worth paying for. Not for ideology — for the boring, practical reason that in six years when something breaks, I’d like to be able to fix it.